Here is a link to a short video showing the basics of a bonding system on a small aluminum boat with an outboard. If you were wanting to bond a fiberglass or wood boat to generate downrigger wire voltage, the experts recommend interconnecting virtually all the boats metal and electronic components, both above and below the waterline. Essentially you start with a good quality, low resistance, heavy wire (like welding cable) that is bare of coating and runs the length of the bilge. Connect (preferably soldered) all metal components as listed with #10 or #12 copper wire:
*outboard or sterndrive
*rudder including mounting hardware like packing gland housings.
*skeg
*trim tabs
*keel coolers
*through hull fittings
*engine blocks
*propeller shaft (inboard, using a contact brush)
*kicker motor
*all electronics casings
*radar stand
*anchor winch
*metal rigging
ETC. Connect these all to the bonding wire. A central zinc can be added if you have a lot of metal below water. The amount of zincs can be adjusted in order to find the right amount of voltage needed for your trolling wire. It is possible to over-zinc a boat. Bonding helps to eliminate any stray, nasty bugs that might be costing you fish. Like galvanized bolts on a bronze through hull fitting YIKES! If you don't know what attaching hardware to use ... just ask a commercial fisherman.
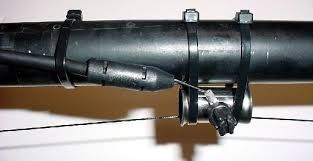
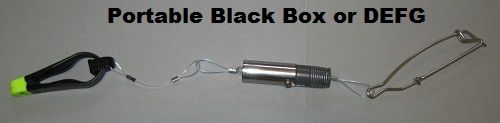
Now that you have a happily bonded boat, go back to my first post and connect the downrigger wires to the bonding wire. Test your line voltage by using a short piece of downrigger wire as an extension of your positive probe and touch it in the water a couple of feet from your downrigger wire. Drop your canonball and wire a few feet and contact that wire with negative probe. Meter should be on 2v dc setting. Try this away from boats, engine off, engine on, moving, electronics off, electronics on. See what you have. Canonball should be on a breakaway line and not touching the wire. It really is quite a simple yet effective system.
https://youtu.be/It3UwpZk84Y


 Previous Topic
 Index
Index

